
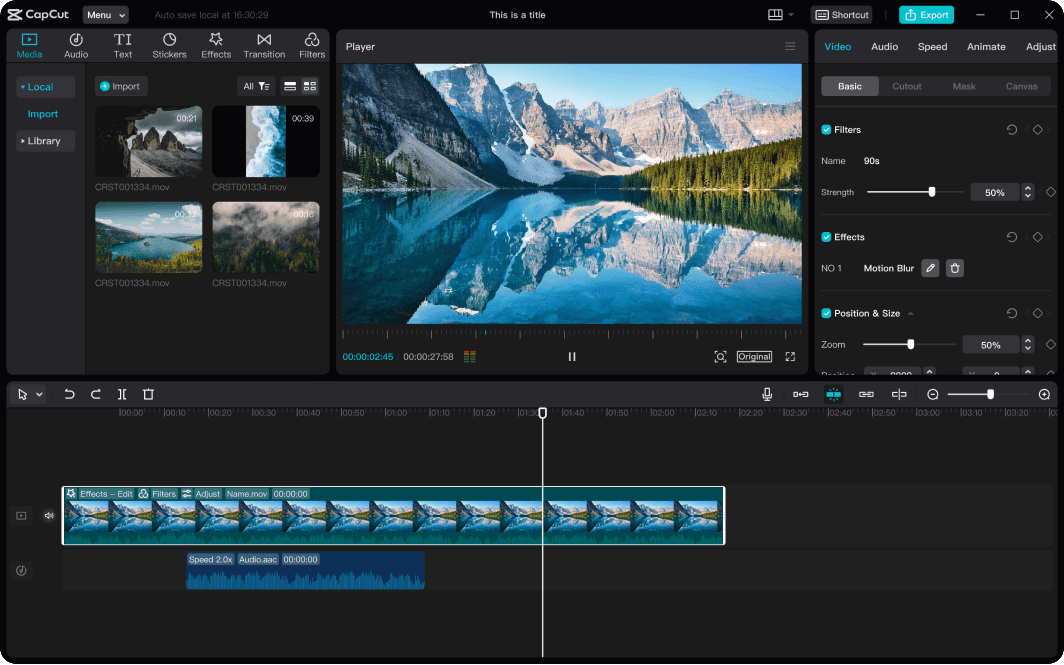
Avoid these 5 common video editing mistakes and make your Reels look clean, sharp, and professional. Simple tips for beginners.
You spend an hour filming. You spend another hour editing. You hit post, and the Reel gets 200 views. Sound familiar?
It is frustrating, and many creators assume the problem is their idea, their camera, or the algorithm. But most of the time, it is a handful of small mistake that make a Reel look rushed or amateur. The good news is that every one of them is easy to fix, and you do not need expensive software to do it.
Whether you are a beginner or have been posting for a while, these five mistakes are worth checking. Let’s go through them one by one.
1. Slow Starts and Weak Hooks: A Common Video Editing Mistake
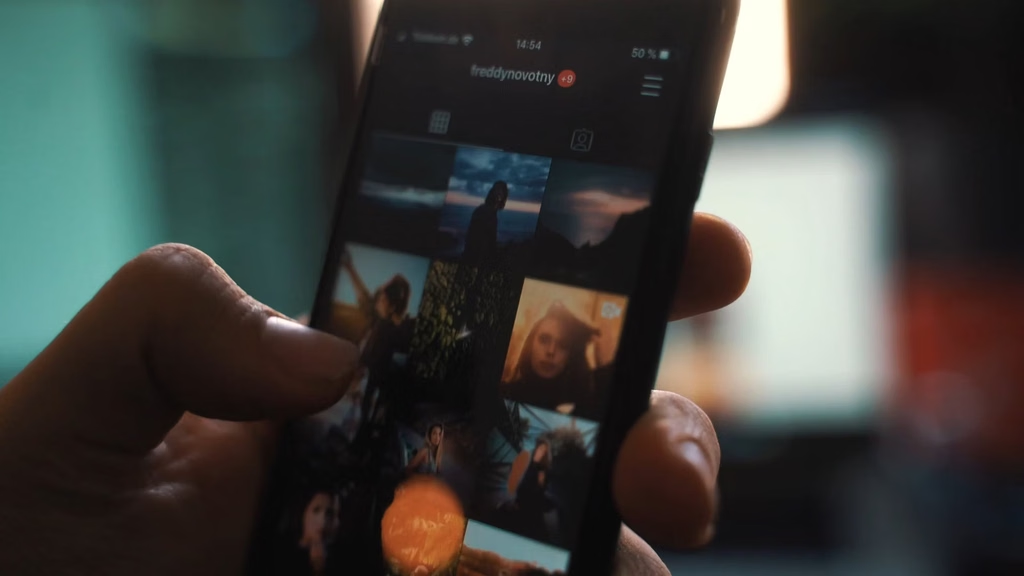
People decide whether to keep watching in about two seconds. If your Reel opens with “Hi guys, so today I wanted to talk about…” most viewers have already scrolled away. Instagram is a fast platform. Nobody owes your video their attention, so you have to earn it immediately.
What to do instead:
- Start with the most interesting moment, the final result, or a bold question.
- Cut out the “umms,” long pauses, and slow introductions.
- Add a short text hook on screen, like “Stop making this video editing mistakes.”
- Show the “after” first, then explain how you got there.
Think of the first two seconds as your headline. If it does not grab attention, nothing after it matters. Even great content gets ignored when the opening is weak.
2. Bad Audio: The Video Editing Mistakes You Shouldn’t Ignore
Here is something many creators miss: viewers will forgive average video quality, but they will not forgive bad sound. Echo, background noise, or music that drowns out your voice makes a Reel feel cheap instantly.
Think about it. A slightly grainy video with clear audio still feels watchable. A beautiful 4K video with muffled, noisy audio feels painful.
Quick fixes:
- Record in a quiet room, close to your phone or a cheap lapel mic. Soft furniture like curtains and sofas helps reduce echo.
- Lower your background music so your voice stays clear. A good rule is to keep music at about 10 to 20 percent of your voice volume.
- Use the noise reduction tool in apps like CapCut, InShot, or Premiere Pro.
- Avoid using loud trending audio under a talking video. Pick one or the other.
- Always listen with headphones before posting.
Avoid these are the video editing mistakes.
If you only improve one thing this month, make it your audio. It is the fastest way to look more professional.
3. Too Many Effects, Transitions, and Filters
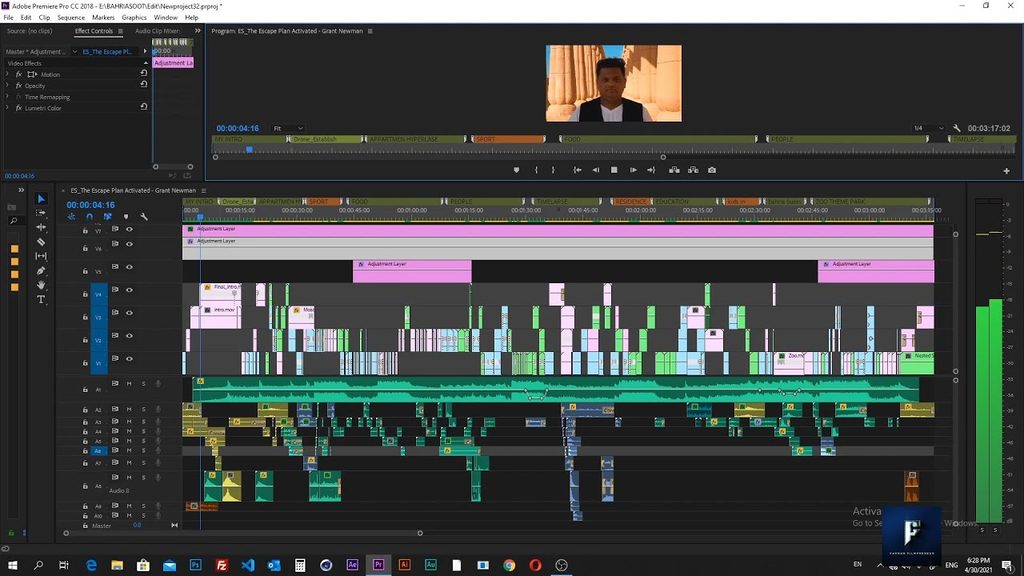
When you first learn the video editing mistakes, every transition looks exciting. Spins, glitches, zooms, shakes, all packed into one 15-second clip. The result? It looks messy and distracting.
Professional editors use effects with purpose. A transition should help the story move forward, not show off the app’s features. When every clip has a different effect, the viewer focuses on the editing instead of your message.
Keep it simple:
- Stick to one or two transition styles across the whole Reel.
- Use a basic cut for most scenes. It is clean and it works.
- Pick one color filter and use it consistently, instead of changing the look every clip.
- Save big effects for important moments, like a reveal or a beat drop.
A good rule to remember: if the viewer notices your video editing mistakes, you probably overdid it. The best edits feel smooth and almost invisible.
4. Poor Text, Captions, and Fonts
Most people scroll with the sound off, so captions matter a lot. They also help viewers who are in public, who are hard of hearing, or who simply prefer reading. But badly done text is one of the fastest ways to look unprofessional.
Common text mistakes:
- Tiny text that is hard to read on a phone
- Five different fonts in one video
- Text placed where Instagram’s buttons and username will cover it
- Captions that stay on screen too long or disappear too fast
- Low contrast, like white text on a bright background
- Spelling mistakes (these are noticed more than you think)
How to fix it:
- Use one or two clean, bold fonts across all your Reels.
- Keep captions short, with no more than 5 to 7 words on screen at a time.
- Add a light shadow or background behind the text so it stays readable on any footage.
- Keep text inside the safe zone, away from the top and bottom edges.
- Time your captions to match your speech, so words appear as you say them.
A consistent text style also builds your brand. After a few posts, people can recognize your Reels even before they see your name.
5. Bad Pacing and Messy Cuts
Pacing is how fast or slow your video feels, and it is one of the biggest differences between a beginner edit and a professional one. If clips drag on, viewers get bored. If cuts are random and too quick, they get confused.
Watch out for:
- Clips that run a second too long after the point is made
- Jump cuts that do not match the beat or the flow of speech
- Shaky footage that was never stabilized
- Wrong aspect ratio, which leaves black bars on the sides
- Sudden changes in lighting or color between clips
- Dead space at the end of the Reel
Better habits:
- Trim each clip tightly. Cut right after the main action or sentence ends.
- Cut on the beat of your music for a smooth, rhythmic feel.
- Film in 9:16 vertical format from the start.
- Use the stabilization tool if your footage is shaky, or film with both hands or a tripod.
- Match brightness and color between clips before exporting.
- Change the visual every 2 to 4 seconds, with a new angle, zoom, or b-roll shot, to keep attention up.
A simple way to check pacing: watch your Reel once and notice the exact moment you feel bored. Cut that part. If you are bored, your viewers will be too.
Bonus Tip: Export in the Right Quality
You can edit perfectly and still lose quality at the very last step. Export in 1080 x 1920 resolution at 30 fps (or 60 fps for smooth motion). Avoid screen-recording your own video, and avoid uploading an already compressed file. A clean, high-quality export keeps your Reel sharp after Instagram compresses it.
Also, preview your Reel on your phone before posting. Something that looks great on a laptop can look completely different on a small screen.
A Simple Pre-Posting Checklist
Before you hit publish, run through this quick list:
- Does the first two seconds grab attention?
- Is the audio clear and balanced?
- Are the effects simple and consistent?
- Is the text readable and inside the safe zone?
- Are there any slow or boring parts to cut?
- Is the export quality set correctly?
Taking two minutes for this check can save you from posting a Reel you will regret later.
Final Thoughts
Good video editing does not have to be complicated. You do not need expensive software or dozens of effects to make your Reels look professional. Focus on the basics: a strong hook, clear audio, clean text, simple effects, and good pacing.
And if creating, video editing mistakes, and managing content consistently feels overwhelming, SkyFish can help. From content creation and video production to editing and social media management, we help businesses turn their ideas into content that looks professional and connects with their audience.
Want to create better content for your business? Visit skyfish.dev and let’s create something that works.